
 |
This topic shows you how to:
Before you begin, ensure that you have:
Adding capacity or quality loss reasons enable you to specify the reasons for losses experienced within specific production batches.
To add a capacity OR quality loss reason to a production batch, you need to do the following:


 ) button in the relevant section below the production batches grid.
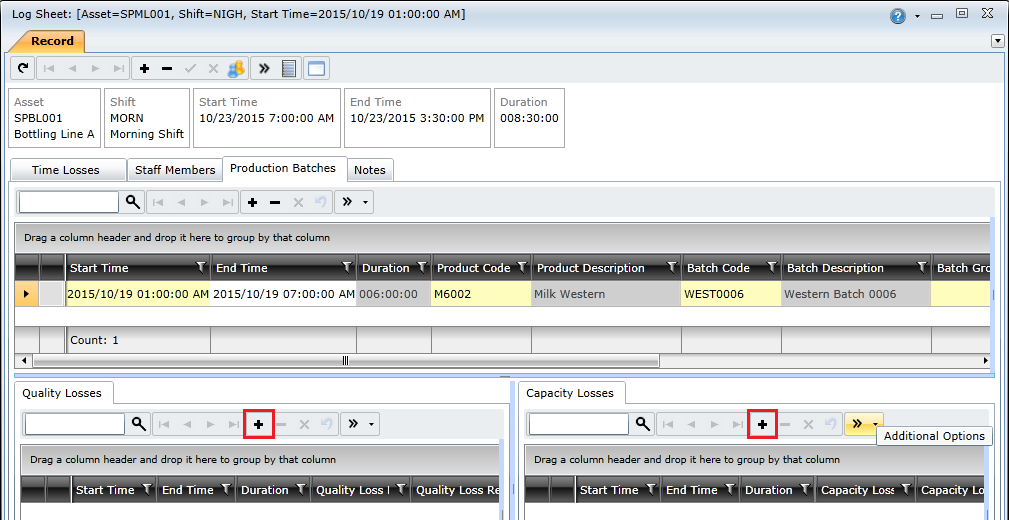
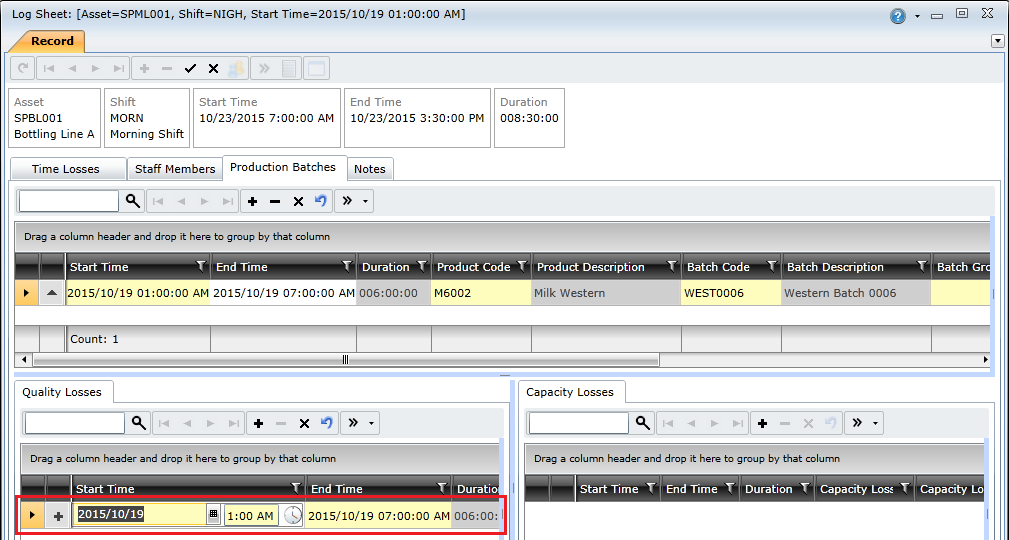
|
Field |
Description |
|
Start Time |
The date and time the loss started. |
|
End Time |
The date and time the loss ended. |
|
Quality\Capacity Loss Reason |
The type of loss that was experienced. |
|
Units Lost |
The number of units lost as a result of the loss. |
Note: Quality and capacity losses can be configured with user defined fields (UDFs). UDFs are displayed as the last columns in the relevant grid.
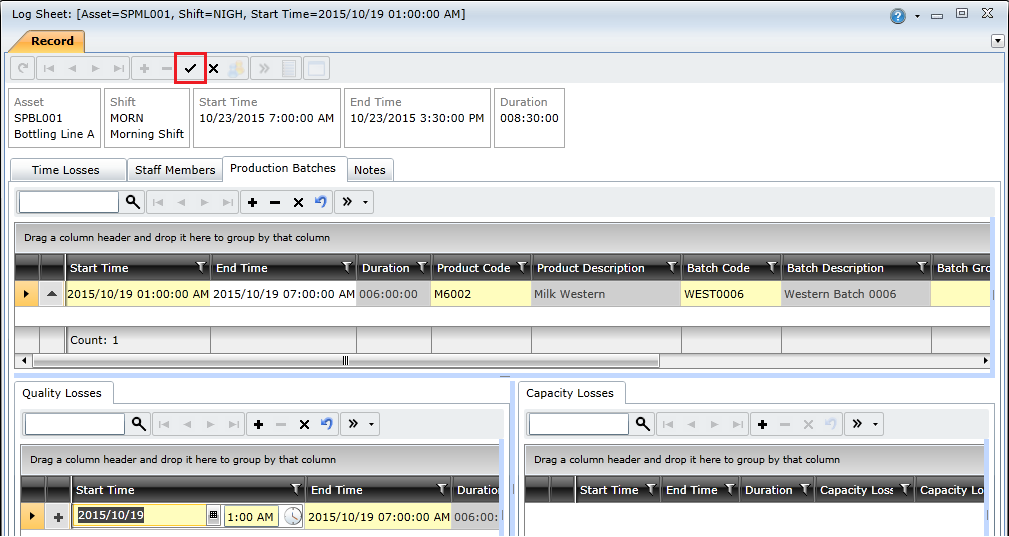
Click the Save Changes ( ) button to save the loss reason.
Adding time loss reasons to a log sheet enables you to specify the reasons for asset downtime during a specific shift.
To add a time loss reason to a log sheet, you need to do the following:

 ) button on the toolbar to add a new loss reason.
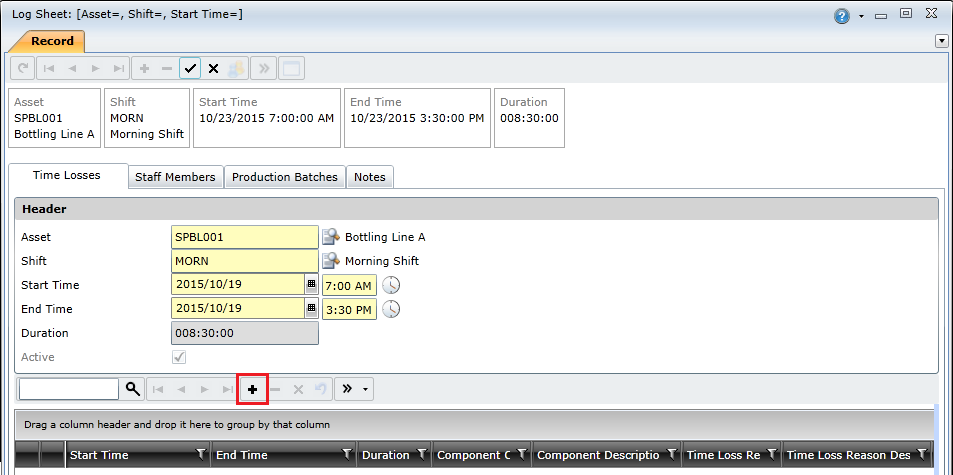
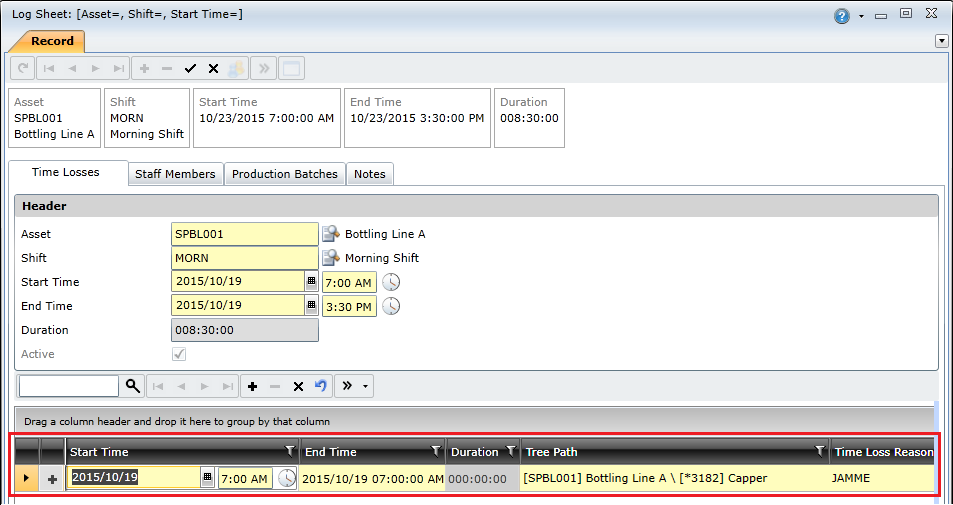
|
Field |
Description |
|
Start\End Time |
The date and time the loss started and ended. Notes:
|
|
Tree Path |
Select the asset or component that failed and resulted in the time loss. Notes:
|
|
Time Loss Reason Code |
The loss that occurred. Notes:
|
|
Work Order Code |
The work order for the repairs required to correct the problem. Either , double-click the field to create a new work order, OR click the Lookup ( |
Note: Time losses can be configured with user defined fields (UDFs). UDFs are displayed as the last columns in the time losses grid.
 ) button to save the loss reason.