
 |
The Scheduling screen enables users to assign work orders that have been confirmed as planned to a scheduling event.
This topic shows you how to do the following:
How to ... Access the Scheduling screen
Open the Scheduling Events Browse screen.
Select the required scheduling event in the tree.
Click the Show Scheduling ( ) button.
How to ... Navigate the Scheduling Screen
In order for work orders to be displayed in the Scheduling screen, they must be confirmed as planned from the Planning Work Orders screen.
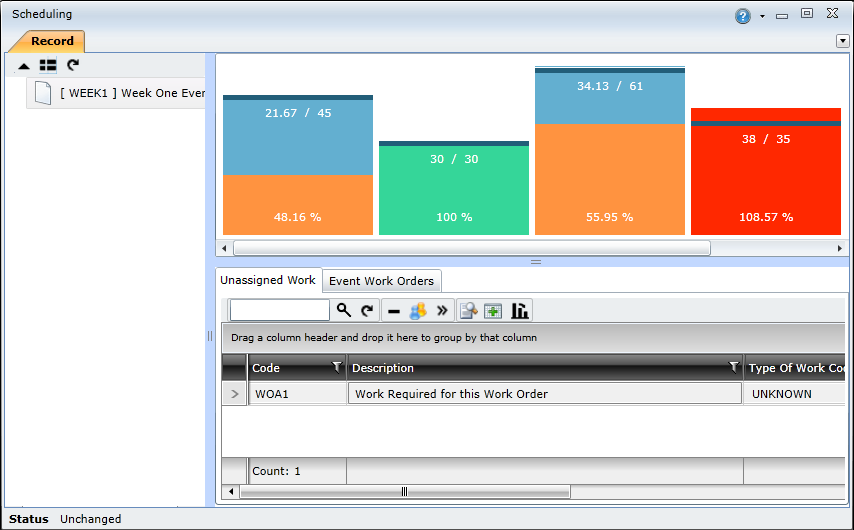
The Scheduling screen consists of three panes:
Displays the scheduling events. Selecting a scheduling event in the Events pane enables users to do the following:
The Events pane includes the following functionality:
|
Click on... |
What it does... |
 |
Opens the Scheduling Event Edit screen for the selected event |
 |
Refreshes the Scheduling screen |
 |
Opens the Daily Allocation screen for the selected event. Note: The Daily Allocation button will be disabled if the Daily Allocation module is not enabled. Check your On Key license to determine whether you have access to this functionality. |
Displays the trades that have been allocated to the selected scheduling event. The values at the top of each trade bar indicate how many hours of the overall available capacity are being utilised. The Trades pane uses the following colours to indicate the trade capacity levels:
| Blue | Available capacity |
| Green | Work order assignments are within the specified upper and lower bounds |
|
Orange |
Work order assignments are under the specified lower bounds |
| Red | Work order assignments are over the specified upper bounds |
|
Blue line |
Capacity limit. Shows the maximum capacity for the trade |
The Work order pane consists of two tabs: Unassigned Work and Event Work Orders. The Unassigned Work tab shows a list of prioritised work orders that have been confirmed as planned. The work orders listed in this tab can be assigned to the selected scheduling event. The Event Work Orders tab lists the work orders that have already been assigned to the selected scheduling event. When a work order is assigned to a scheduling event, it is removed from the Unassigned Work tab and added to the Event Work Orders tab.
Note! The All Work Orders tab only displays the first 200 prioritised work orders. Click the Refresh ( ) button to refresh the list of work orders.
The Work orders pane includes the following functionality:
|
Button |
Functionality |
 |
Fetches non-tactical work orders |
 |
Refreshes the Scheduling window |
 |
Displays the Customise Columns tab |
 |
Executes the automatic scheduling functionality |
How to ... Manually Schedule Work Orders
Select the required scheduling event in the Events pane.
Click and drag work orders from the Work order pane to the Trades pane to assign them to the selected scheduling event.
Note: Clicking a work order in the Work order pane shows which trades will be impacted. It also shows how it will impact the affected trades' capacity.
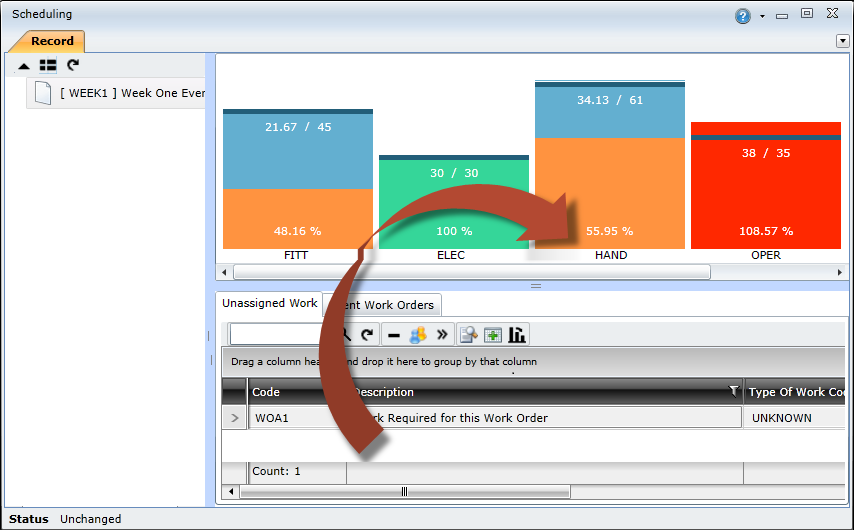
Note! The scheduling event is saved each time a work order is dropped in the Trades pane.
Keep in mind that the trade bars are updated based on the individual work task labour items included in the work orders. Each task in a work order can have multiple work task labour items, each with a different trade requirement. For example, adding the work order depicted below to the scheduling event above will affect the Fitter, Operator, and Electrician trade bars.

How to ... Automatically Schedule Work Orders
Visit the Automatic Scheduling topic to learn more about this functionality.
To automatically schedule work orders, you need to do the following:
 ) button on the All Work Orders tab toolbar.
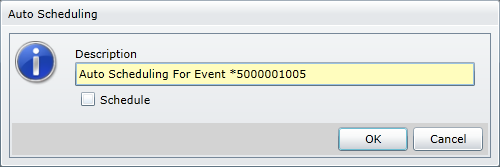
 ) button to refresh the Scheduling screen.

Note! The work order scheduling can be refined manually after the automatic scheduling has been completed.
How to...Customise the Scheduling Screen
Click the Customise Columns ( ) button.
Select the columns that you want to add to the profile and then click Apply.
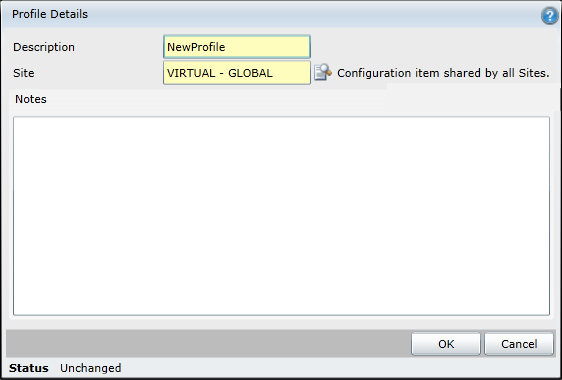
Click the Profiles ( ) button and select Save as new personal profile.
Type a profile name in the Description text box and click the OK button.
You might need to remove work orders from a scheduling event if a specific trade is over its capacity, or if the scheduling event has come to an end and it needs to be closed.
Notes:
Open the Scheduling screen for the required scheduling event.
Click the Event Work Orders tab.
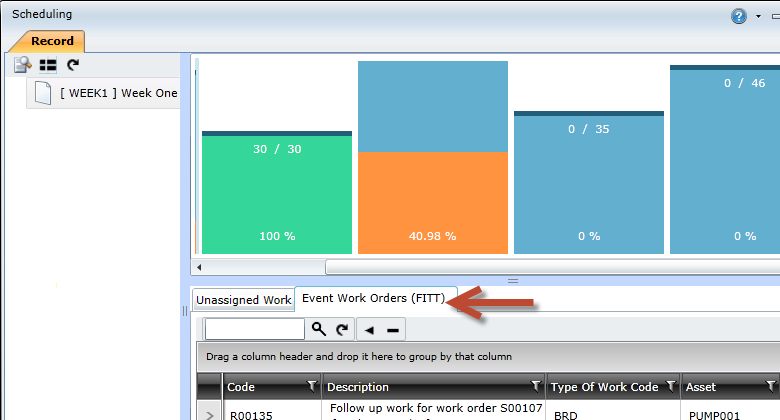
Select the required work order in the list.
Click the Remove work order from event ( ) button.
Click the Save button.